Calendar synchronization

You can synchronise calendar(s) so you can always immediately see when you have time to schedule a new session with the client without having to switch environments. The client is also notified immediately of a scheduled session in an email.
Synchronise calendar
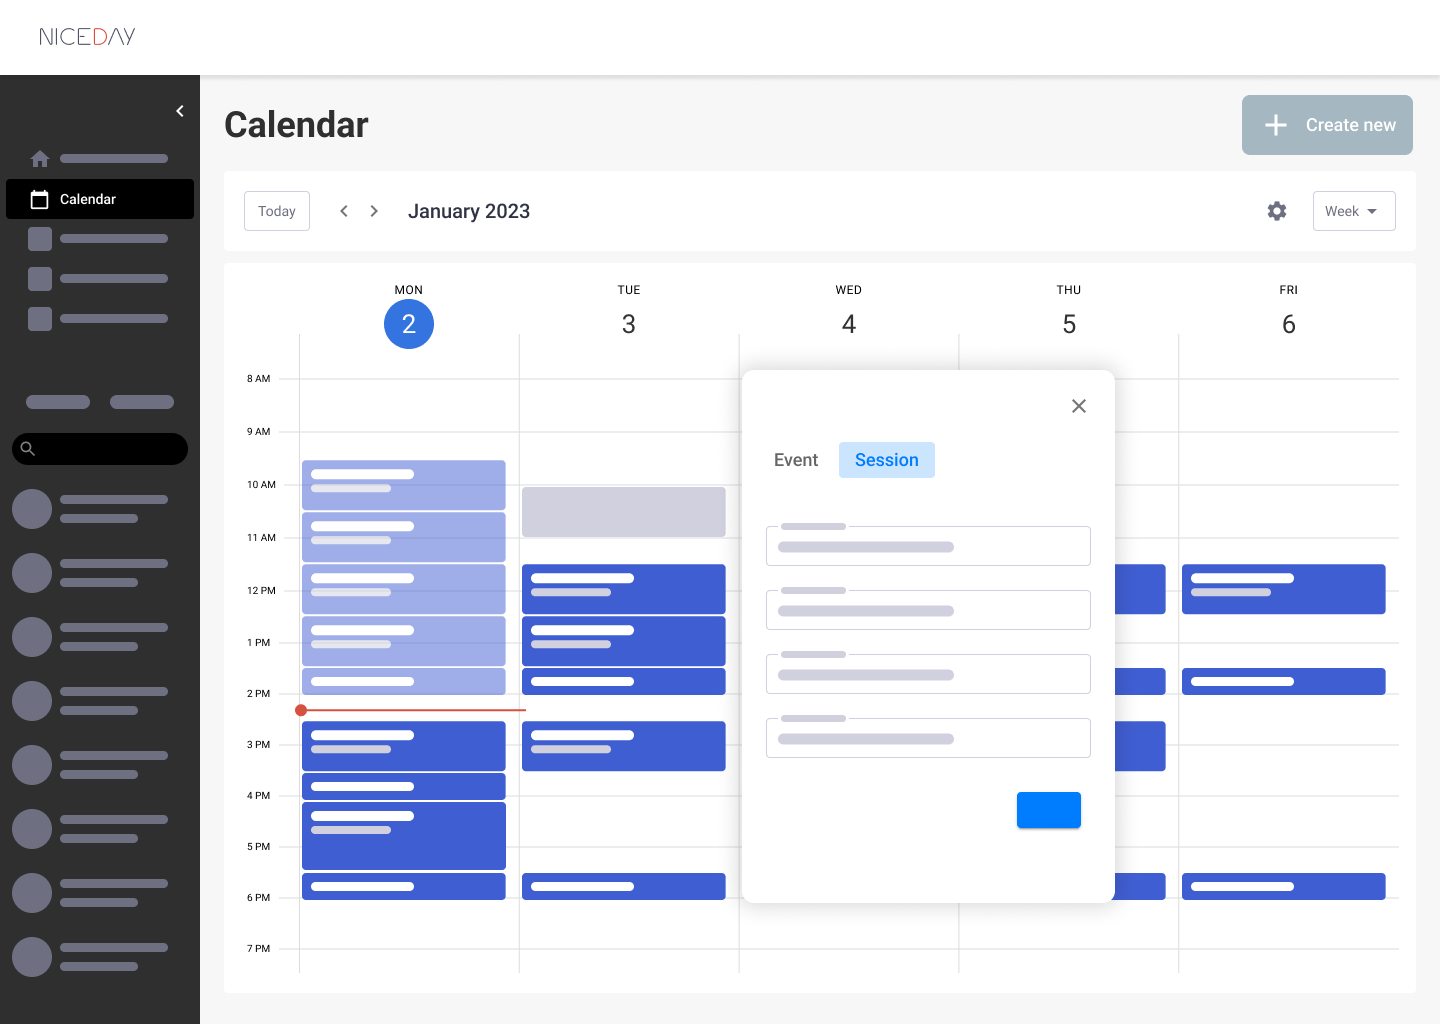
- Click 'Calendar' in the Left Menu.
- Click: 'Synchronise my calendar' ⚙️
- Choose which calendar you want to synchronise (iCloud, Google, Office 365, Exchange, Outlook.com)
- Log in and give Cronofy permission.
Schedule session
- Click: '+ Create new' or Click in the calendar
- Choose: 'Session'.
- Select client
Note: The name of the client that you select will not be copied to an external calendar, it will remain safe in NiceDay - Select Calendar 📆 - This is where the appointment will be copied to
- Fill in: Title of the session.
- Enter: Description of the session.
- Select: Date, Start time, End time.
- Notification for client 🔔 Toggle On or Off
- Time of the Notification can be set, for example: 1 hour before the session starts
- OMQ and SMQ questionnaires: Toggle On or Off
What does the client see?
- Client receives an e-mail about the planned session
- Client sees when the next session is in the NiceDay app
Schedule appointment
- Click: ‘+ Create new’, or Click in the calendar.
- Choose: ‘Appointment’.
- Fill in: Title
- Select Date, start time, end time or choose: ‘All day’.
- Enter email address of the guest
- Select Calendar 📆 - This is where the appointment will be copied to
- Fill in: Description of the appointment
Manage calendar
Click: Settings icon ⚙️
More calendars can be added (up to 5), calendar(s) can be ‘Disconnected’.
Colours of calendars can be changed and the Default calendar can be changed.
Trouble Shooting
- You can only synchronise the following calendars: iCould, Google, Office 365, Exchange, Outlook.com
- You can sync up to 5 calendars
This feature is released in our public Beta
Also want access to this feature? ✉️ merel@nicedaynederland.nl

